Posts Tagged With: rolls

Du pain et plus de pain et seulement le pain

photos classe celine 111  IMG_0307

Mon amie et moi avons visité l’Italie l’été dernier, et nous l’avons adorée! Alors, nous avons décidé que nous aimons le pain! Tout le pain! Nous faisons le pain tout le temps, et maintenant, nous avons un magasin de pain. Beaucoup de gens l’aime et notre pain est toujours très réussi. Notre magasin s’appelle “Du pain et plus de pain et seulement le pain”. Nous sommes très connus pour nos baguettes. C’est notre pain préféré. C’est très amusant de cuisiner!  Une classique!

Les ingrédients:

4 tasses de farine
3 tsp (c.à.c) de levure boulangère
2 tsp (c.à.c) de sel
1 1/4 tasses d’eau chaude
Un peu d’huile d’olive

Les étapes:

1. Mettez la farine, la levure boulangère et le sel dans un grand bol. Mélangez rapidement avec une cuillère.

Atelier cuisine 102 Atelier cuisine 109 Atelier cuisine 112

2. Dans une tasse, ajoutez l’eau chaude (1 minute dans le micro-onde devrait marcher).

3. Ajoutez l’eau chaude au mélange de farine et travaillez le tout avec vos mains. Quand la pâte commence à faire une forme (comme un cercle), versez le tout sur la table.

Atelier cuisine 113Atelier cuisine 120 Atelier cuisine 136

4. Travaillant avec les mains, pétrissez la pâte pour 10 minutes. Mettes la pâte dans un saladier pendant 1 heure pour reposer.

5. La pâte devrait être gonflée; frappez-la pour faire échapper le gaz de la levure. Diviser la pâte en quelques morceaux afin de modeler de petites cercle.

Atelier cuisine 142

6. Faites un baguettes avec la pâte. Pliez les deux “coins” de ce cercle pour faire un triangle. Roulez le bas du triangle pour faire la forme d’une baguette, comme un cylindre.

Atelier cuisine 151 Atelier cuisine 158

7. Mettez les baguettes sur une plaque à four. Laissez reposer la pâte pendant 30 minutes, puis mettes-les dans un four chaud (475F) pendant 30 minutes (à peu près).

Atelier cuisine 160

Bon appétit ! 🙂

IMG_0304

Categories: Uncategorized | Tags: , , , , , , , , , , , , , , | 1 Comment

Cinnamon Rolls

In an effort not to consume too many sweets, my roommates and I seem to have decided not to stock sugary goodies in our kitchen.  In theory, this is a splendid arrangement – if there are no naughty foods, we cannot eat naughty foods. Right ?

WRONG !

I simply love sugar too much to let that happen (probably to everyone’s chagrin) and therefore in a moment of weakness, whipped up some cinnamon rolls for a Friday morning breakfast (and a Saturday…and a Sunday…you get the idea).  I love these rolls because they do not require yeast and therefore a very simple to concoct.  Traditionally, these pair well with a sweet glaze made from mascarpone cheese and a little powdered sugar…but I’m not really THAT fancy (yet) here in my little apartment so I skipped that part.  Also noteworthy – the recipe calls for brown sugar but, again, I didn’t have any and therefore used turbinado sugar (sugar in the raw – thank you Trader Joe’s !).  It turned out JUST FINE 🙂

Filling :

3/4 cup packed dark brown sugar (or about 1 cup of raw sugar)
1/2 cup pecans (if available)
1/4 cup sugar
2 tsp cinnamon
1/2 tsp cloves
1/2 tsp nutmeg
1/4 tsp ginger
1/4 stick butter, melted

This is the easiest part – combine all dry ingredients.  Set aside.

Dough :

3 cups flour
2 tbsp sugar
1 1/4 tsp baking powder
1/2 tsp baking soda
1/2 tsp salt
1 1/4 cups buttermilk (or regular milk)
8 tbsp melted butter

Preheat the oven to 425F and butter an oven pan.  Mix all the dry ingredients together in a large bowl, making a little moat in the middle.  I don’t know why you must make this little indentation, but my mother told me to do so when I was very small and I guess I never questioned her judgement until now…hmm….

In any case, heat the milk slightly so that it is warm to the touch.  Pour the melted butter into the milk and stir.

Pour this buttermilk mixture into the moat and stir with a spoon.

Add flour to the dough until it is easy to knead.  I recommend turning the dough out onto a floured surface and kneading a little bit – once you can fairly easily work with the dough – it has taken enough flour.  Three cups should be enough, however.

When ready, begin to stretch the dough across a FLOURED countertop.  I did mine right in the pan I was going to cook it in as I used a jellyroll pan.  I also have limited counterspace…so this was my solution.

Once you’ve stretched it out to a large rectangle size, pour half the melted butter on top of the dough.  Cover with an even coating of the sugar and spice mixture.  Finish with a final butter bath.  Mmm.  Butter.

Starting at the edges, begin to roll the dough from the bottom up, being careful not to press too hard as if you do so, the filling will eek out the edges of the roll.  No fun.

Once you’ve rolled it all the way up, pinch the sides a little to seal them up a bit and take out a long, serrated knife.

Cut the roll into sections, making a quick cut through the dough.  I like to pull the knife towards me in a speedy, downward swoop !  However, I didn’t have a serrated knife…so mine were a little lumpy BUT they tasted great just the same.

Place these closely together on a large pan (I like the jelly roll pan but using a cake pan or a square brownie pan works great as well !) and place in the oven.  Cook until the roll is just starting to brown, probably about 25 minutes.

Pour yourself a cuppa joe (or a spot of tea) and enjoy !

Bon appétit !

Categories: English | Tags: , , , | Leave a comment

Homemade dinner rolls

I’ll just preface this with a simple statement : I. LOVE. BREAD.  No need to say much more…however…

These rolls come from “The River Cottage Bread Handbook” (merci mille fois, mon cher Matthieu !) and are delightful.  I’ve had a lot of good luck with the recipes detailed by Mr. Daniel Stevens, as he gives excellent instructions and tried to take the fear out of breadmaking.  I grew up kneading dough and enjoying my dad’s homemade bread.  As a result, I’ve never felt bested by bread recipes…and YOU SHOULDN’T EITHER !  Not only does the bread taste infinitely better when made by hand, but it also is a fantastic stress-reliever.

If you can’t eat all the bread you make, you can easily freeze the rolls OR make half a batch.  If you’re like me, however, I doubt you’ll have that problem…

White bread recipe (makes 12 rolls)

2 cups flour (I used all-purpose but if you want to be fancy, use white bread flour)
1 tbsp instant yeast
4 tsp salt
1 1/4 cups plain yogurt (or milk)
1 1/4 cups warm water (between 105 and 115F)
1 tbsp olive oil
2 handfuls of flour (for coating)

In a large bowl, combine yeast and flour.  Mix well to distribute the yeast throughout the flour.

In a separate bowl, mix the warm water with the salt and sugar and stir until dissolved. After making sure the water isn’t too hot, add the yeast.

SCIENCE TIDBIT : Yeast is actually ALIVE – I know it looks like a lot of nothing, sitting there in those packets (or the jar) on the shelves of your fridge.  However, every little particle is actually an organism – a sensitive one, too.  Between certain temperatures, the yeast organisms wake up, so to speak, from a dormant state (think brine shrimp) and begin to eat food (the sugar and salt we put in the water).  Like a creature that is eating, the yeast also will need to “answer the call of nature” and pass gas – CO2, that is.  This is what causes the bread to rise (I hope I didn’t ruin the magic for you…).

However, if the temperature of the water is too hot, the reaction will stop – killing the yeast. (This is what we do when we put bread in an oven !  KILL THE YEAST !)  Hence the importance of water temperature….usually, if you can put your finger in the water without feeling uncomfortable, the temperature is safe.

Pour the water into the flour mixture and stir to combine.

Then add the yogurt and the oil.  Stir until the dough comes together, then turn out onto a well-floured surface.

Knead for about 10 minutes or until the texture of the dough is smooth and silky – you will notice a big difference from what you start with and what you end with. While kneading, you are creating GLUTEN NETWORKS !  The mechanical process of kneading dough causes the proteins present in the flour to be rearranged into long strands.  In between these long strands, you have the gas from the yeast.  These two factors combine to affect the texture of the bread.  This is why it’s very important to knead bread enough (otherwise the bread will be tough).

Form the bread into a ball and place it in a well-oiled bowl with high sides.  Cover with plastic wrap and let rise until doubled in size – about an hour.

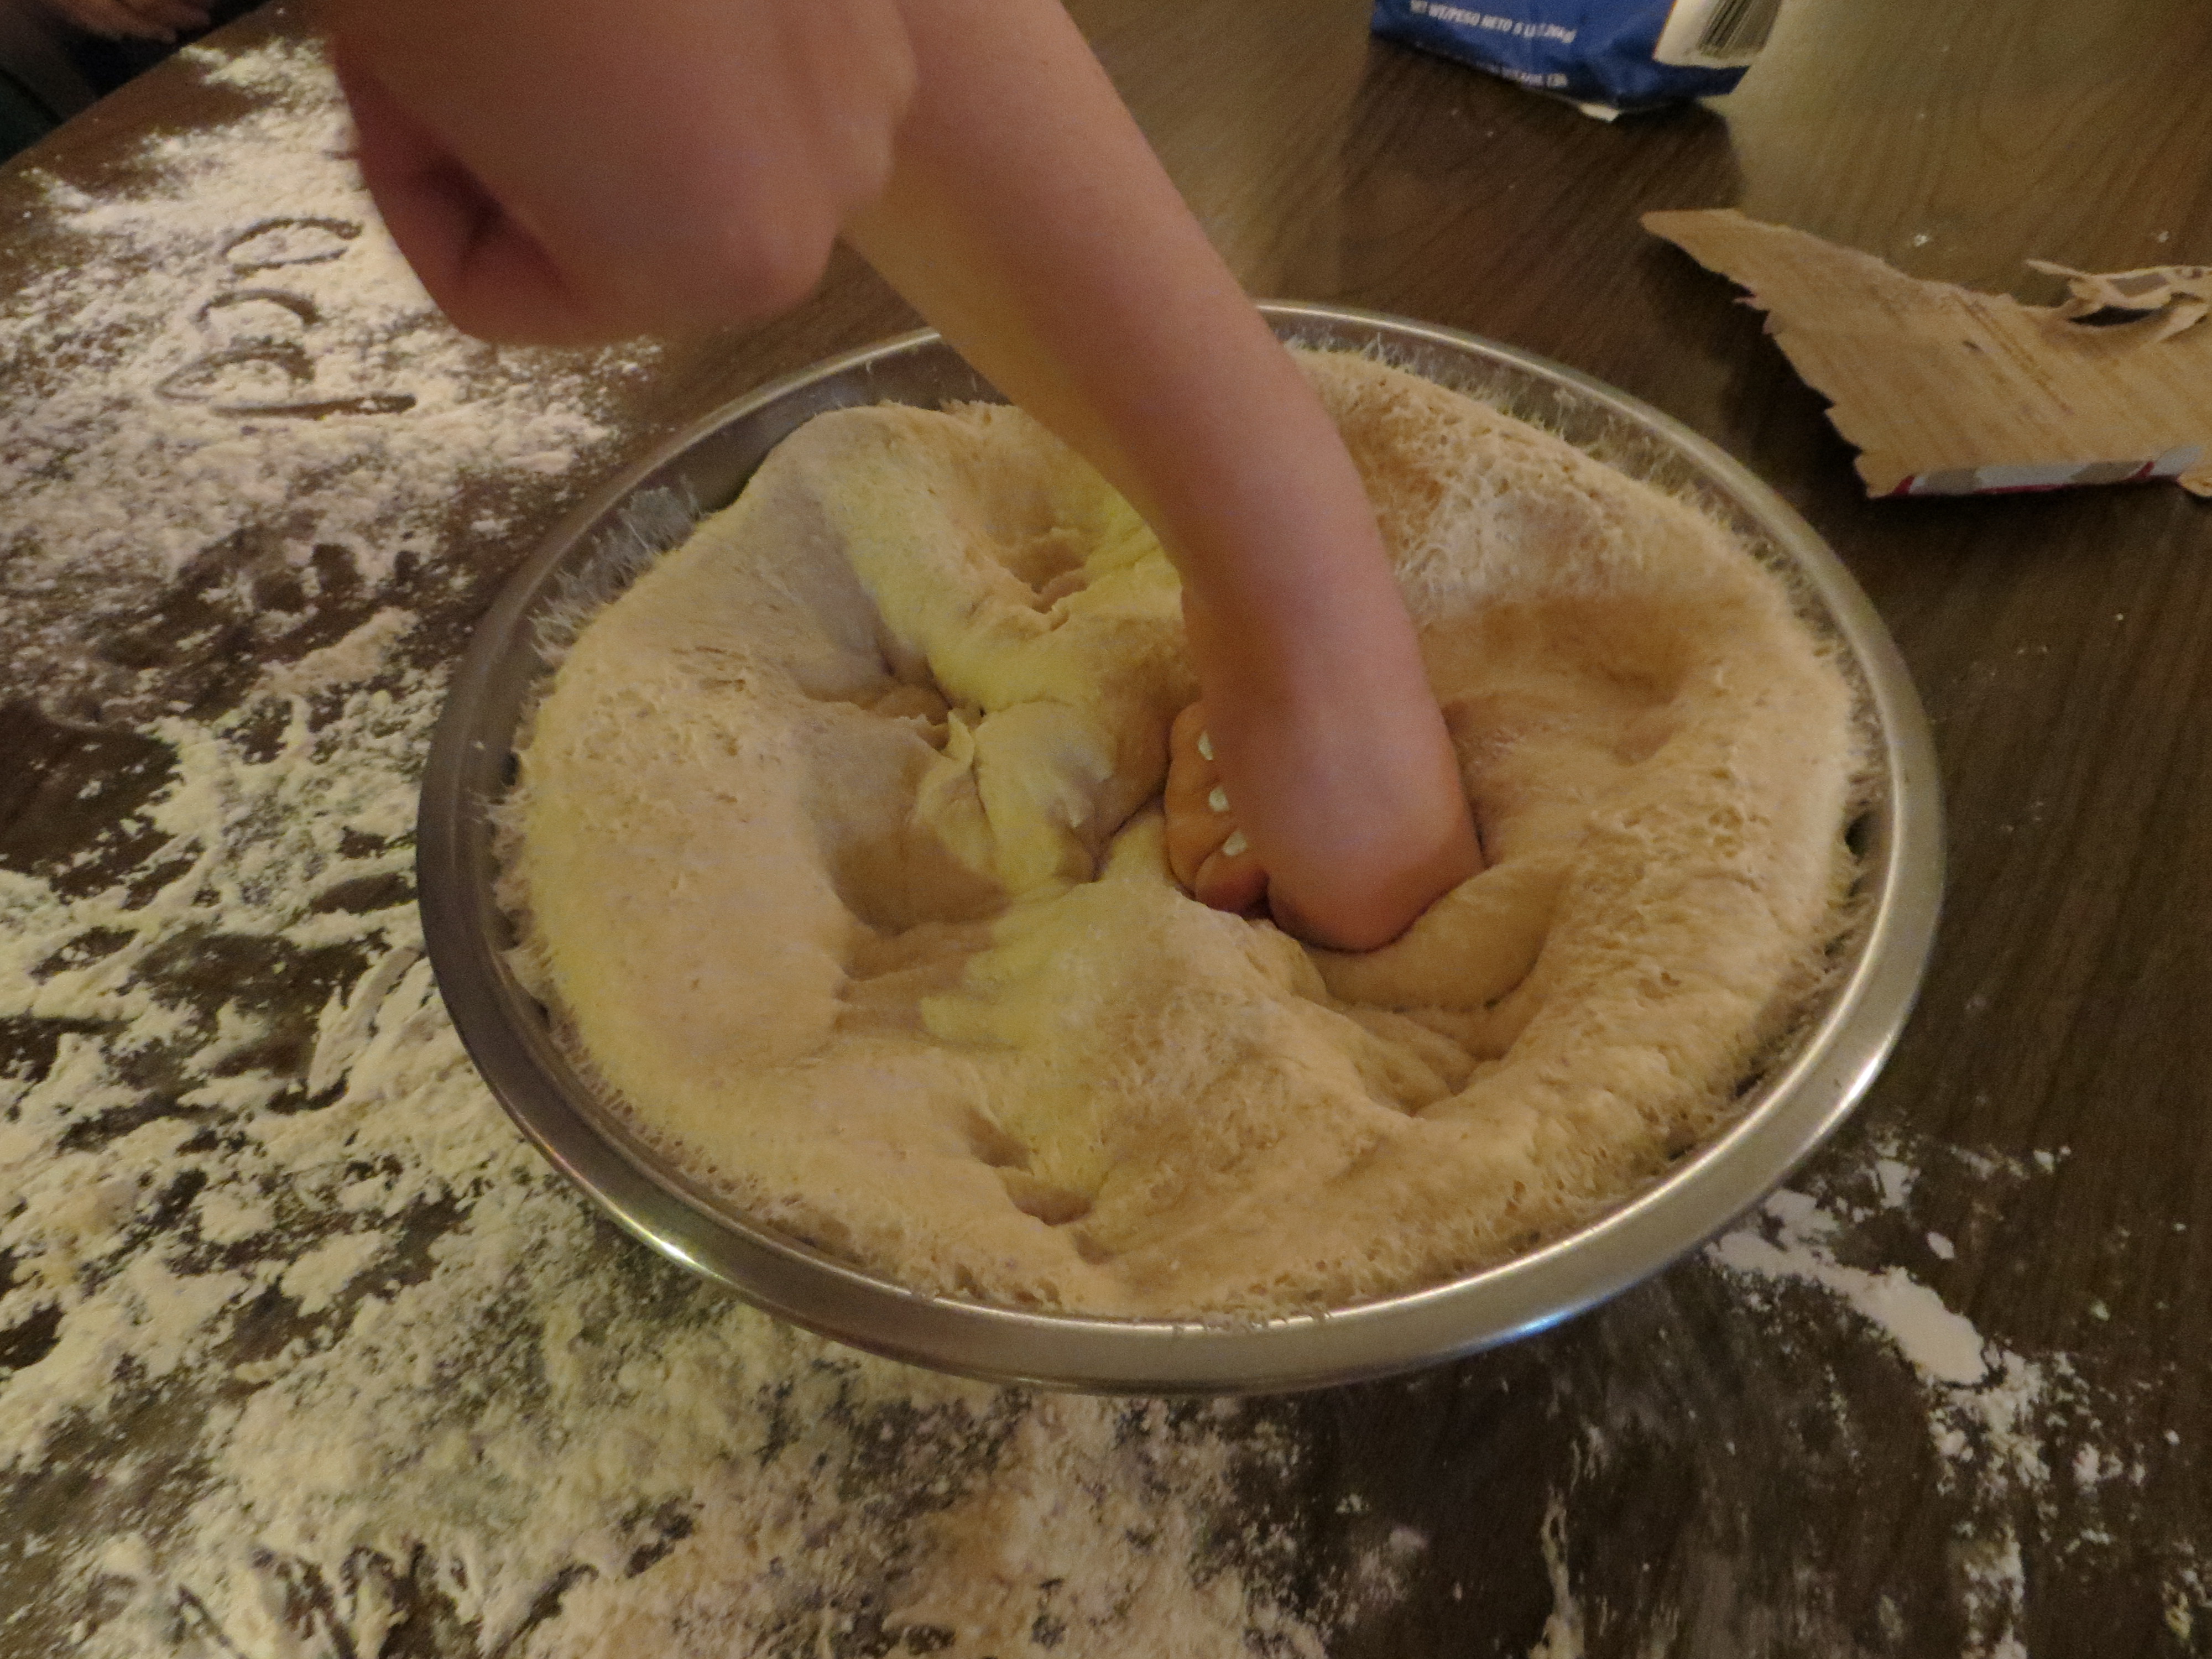
When ready, turn the dough out onto a well-floured surface.  Use your fingers and punch the air (well, CO2) out of the dough.

Give it a few turns before forming it into a ball again.  You can either let the dough rise again OR form the dough into rolls right now.

To form the rolls, slice (yes, with a knife) the dough into evenly shaped rounds.  Flatten then with your hands, as if you were making pizza crust.  Fold the top two corners down, pinching to seal.  Then, roll the dough up until you’ve made a nice little…roll !


Slit the top and cover in flour.


Let sit on a greased baking sheet, covered with a towel, for about 45 minutes or until (yet again) doubled in size.


Spray with water and place into a SUPER HOT OVEN – a temperature of 500F !  This hot oven will kill the yeast, but not before the yeast released a final spring – lifting the bread in a final burst of energy.  POOF !  This is why it’s important to slit the tops – it gives the bread a little more wiggle room for its final takeoff.

Bake for about 10 minutes at this high temperature and then reduce the oven temp to 350.  If your bread is already brown, feel free to cover it with foil.  Also, I like to put a tray of water in the lower section of the over (bottom pan) to create steam.  The bread will have a lovely crust that way…but it is not mandatory.  This pan of water has a fancy name (and it’s French, of course) : a bainmarie – quite snazzy, non ?

The bread is done when it sounds hollow upon tapping.  It’s going to smell fantastic.   Just warning you.

Bon appétit !


Categories: English | Tags: , , , , | 4 Comments

Create a free website or blog at WordPress.com.