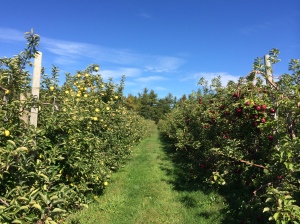
For some, pumpkin spice everything may be all the rage for those fall months when leaves spin slow to the ground and we shake out the coats and scarves so hastily hidden away with summer’s arrival. But before flavored syrups and the facility of canned pumpkin, another fruit reigned over autumn: the apple. A New England native, the apple is an automatic October symbol for me. I think every elementary school student in the area has a field trip to a local orchard. My town hosts at least five apple picking locations, each vying for some title of prowess – the best cider ! Apple cider doughnuts ! 10 different apple varieties ! Hay rides ! Pick your own ! It’s a glorious, fall-hued chaos that absolutely epitomizes the start of cooler weather, shorter days, and (perhaps most importantly) the baking season.
Recently, apple pies were made and sold in the center of town and listening to everyone talk about the crust and the filling and the spices and the apples made me ALMOST want to eat pie.
But then I remembered.
I don’t really like apple pie (a phrase not to be uttered in a town that thrives on apple consumption). In fact, I really just like apples straight up and down: plucked from the tree, polished on my pants, and devoured with an excellent crunch and the occasional spatter.
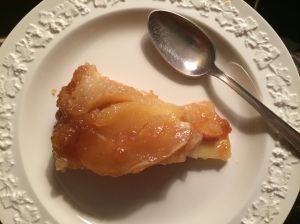
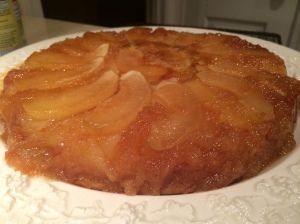
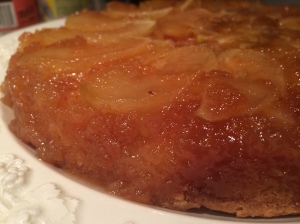
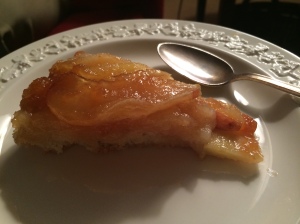
So what to do with this bounty of fruit so often relegated to pie filling ? Oddly enough, the answer came from France, and more precisely from my home-away-from-home in the heart of Bourgogne. During one of many Dijon visits, my friend’s mother brought out a gâteau aux pommes. A “simple, family recipe – nothing special” with caramelized apples and a buttery cake that melts in your mouth. Simple ? Nothing special ? Au contraire ! It looks and tastes both classy and purely of apples, as the ingredients can’t hide behind the spices of cinnamon and nutmeg so often paired with American desserts. This upside-down caramel apple cake relies on sweet apples, butter, and sugar to create a winning dessert that looks chic but is easy to craft.
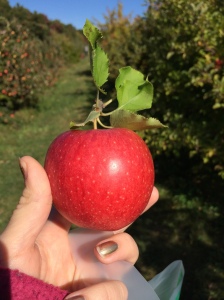
When I asked Brigitte if I could use her recipe, she sent me a scanned, handwritten version that included instructions such as “carameliser le moule” – caramelize the cake pan. How…how does one do that ? How does one even make a caramel, exactly ? As such, I have gone through and provided my “Americanized” version of the quantities and instructions. While somewhat capricious, I have yet to entirely ruin this cake (and it’s becoming somewhat ubiquitous in my repertoire of apple-based dishes). Head to an orchard and pick (or pick up) some Macoun, Gala, or Fuji apples and try your hand at this French family “gâteau.”
Ingredients (for the cake):
3-4 medium apples (Use a firm fleshed variety – no McIntosh !)
1/2 stick butter (+ 1 tbsp for the pan)
1 cup flour
2/3 cup granulated sugar
1 tsp vanilla
1 egg
1 1/2 tsp baking powder
2 tablespoons milk (more as needed)
For the caramel:
You can use a 1:3 ratio of water to sugar – I think I used 1/4 cup water to 3/4 cup sugar but any incarnation of this ratio is fine – if you have apples that are less sweet, use more sugar but you really only need enough to cover the bottom of a 9-inch cake pan.
Directions:
Peel and cut the apple into thin slices. Set aside – do not season with lemon thought you may be tempted to do so ! It is okay if they brown a little during the cake preparation process.
Liberally butter the interior of a 9 inch cake pan and set aside. I place the pan on the stovetop over a warm eye to keep the caramel from hardening somewhat, but you do not need to do this.
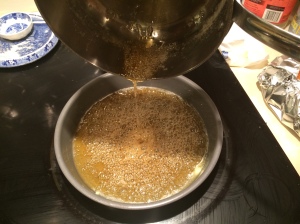
“Caramelize the cake pan” – yes, the infamous step. I interpret this as making caramel in a pan and pouring it into the cake mould. Yes, we are going to make a wet caramel and no, don’t panic.
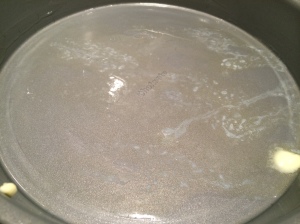
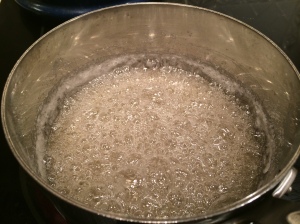
Put the sugar and the water in a pot on medium high heat. Stir initially to incorporate the sugar into the water but once mixed, just leave it alone on the eye. Let it bubble until it turns a nice deep caramel color – you will see the sugary liquid change from clear, to a light brown, to an amber tone. Take it off the heat and carefully pour the hot caramel into your warm cake pan. Be sure to cover the entire bottom of the pan (swirl as necessary).
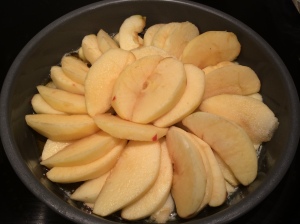
Arrange the apple slices in the caramel and be careful not to burn yourself ! The caramel may look pretty, but it is essentially molten sugar. Your skin will not like it. I like to place the apples in an attractive pattern but you do not need to take the time to do this – it’s your call. Be sure to evenly place the apples around the mould.
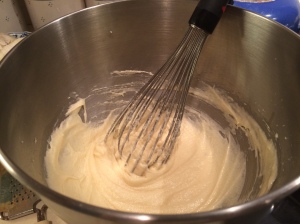
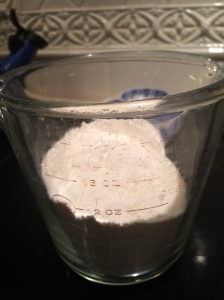
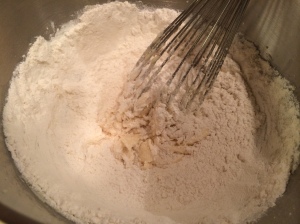
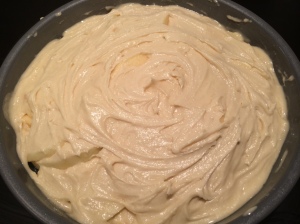
Once the apples are arranged, mix up the cake batter. Soften your butter and whip it until light and fluffy. Add the sugar and beat for 1 minute. Crack the egg into the batter, pour in the vanilla, and mix again until smooth. In a separate bowl, combine the flour and the baking powder. Slowly add the flour mixture to the butter batter and mix until smooth – add the milk to thin the batter to a spreadable consistency. Depending on the day and the temperature of the butter, I add more or less milk to the batter – start with 2 tablespoons and continue as necessary.
Pour the batter over the apples and use a spatula to smooth the top of the cake. Be sure to cover all of the apples !
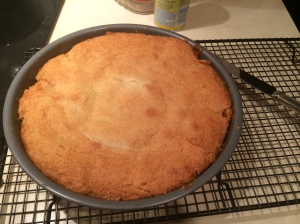
Bake for 30 to 35 minutes at 325F. (Sometimes, I get impatient and increase the temperature to 350F…shh, don’t tell).
Once the top of the cake is a nice golden brown, remove from the oven. It is a dense cake – I usually touch the top to check for a little spring, but the cake is done when the middle is no longer jiggly.
Let the cake cool slightly – 10 to 15 minutes – before turning it out onto a plate. This step is tricky – start by running a knife around the edges of the cake pan. Then, place a plate over top of the cake pan. Using oven mitts, in one movement flip the cake onto the plate. Tap the bottom of the pan and slowly lift it up. Don’t panic if a few apples have stuck to the pan – just put them back into place. As Julia Child (or perhaps Meryl Streep) said, “When you’re alone in the kitchen – who’s to see ?”
Serve warm or cool as dessert, a tea cake, or even (in my house) as breakfast ! Add a scoop of vanilla ice cream for an extra touch. Bon appétit ! 🙂

